
A menu photo should help a guest decide, not make the menu wait
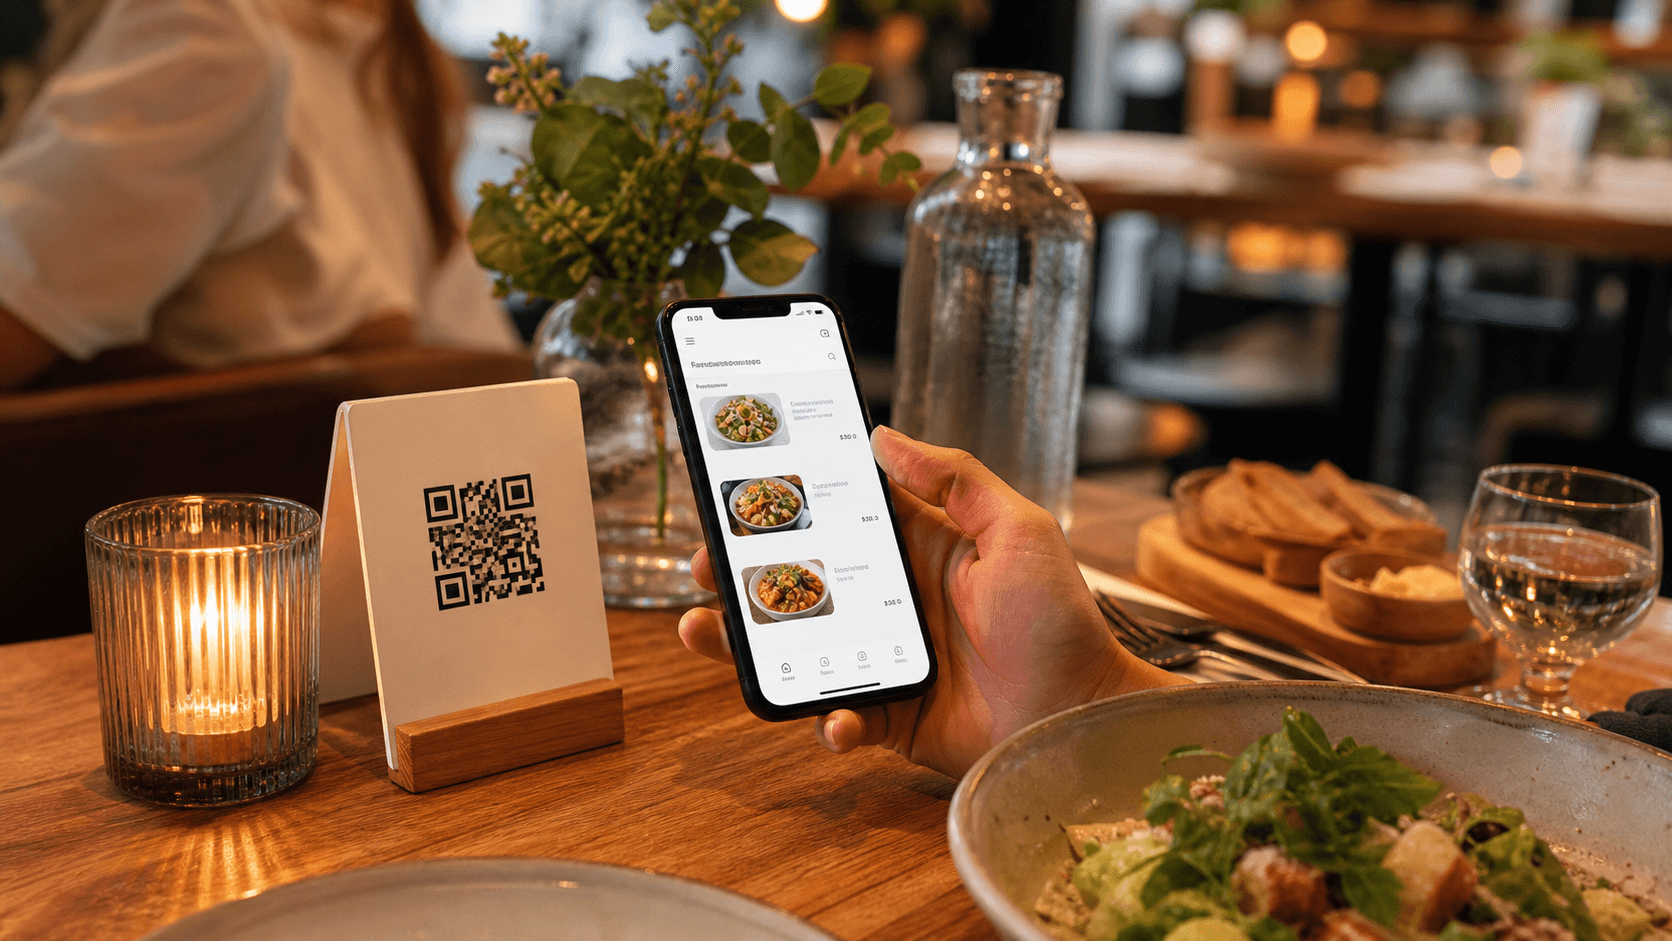
The new menu goes live with a photo on every dish. It looks impressive on the manager's laptop, but a guest on mobile data waits for the images to load, scrolls past a plate that no longer matches the kitchen, and still cannot tell what comes with the meal.
Photos can make an unfamiliar dish easier to understand. They can show a portion style, a drink garnish, or the difference between two similar items. They can also create work when the files are too large, the image promises more than the kitchen serves, or nobody owns the next update.
The goal is not to photograph everything. It is to give the right dishes a useful, honest visual cue while keeping the menu quick to open and easy to use. If you are still choosing the overall menu setup, start with Digital menu for restaurants: how it works, benefits, and why to adopt it. This guide focuses on the photo decisions inside an existing live menu.
1. Decide which dishes earn a photo
Every image has a cost. Someone has to create it, resize it, check that it still represents the dish, and replace it when the recipe or presentation changes. Start with the items where a photo answers a real guest question.
Good candidates often include:
- a signature dish that represents the restaurant;
- an unfamiliar regional dish whose ingredients are hard to picture from its name;
- a sharing platter where portion and presentation affect the decision;
- a cocktail, dessert, or special whose visual finish is part of the value; and
- a dish that guests repeatedly ask about or fail to notice.
Do not add a photo only because a category looks empty without one. A clear name, useful description, price, portion, and availability can be more helpful than a weak image. How to Write Restaurant Menu Descriptions That Help Guests Order covers the information that should still stand on its own.
Use evidence from the operation when you can. Repeated guest questions may point to a dish that needs a photo or a better description. Menu-view data can show whether people reach a page, but it cannot prove that a photo caused an order. How to Use Guest Feedback to Improve Your Restaurant Menu and How to Use Restaurant Menu Analytics Without Guessing explain how to keep those signals separate.
2. Photograph what the kitchen actually serves
A menu photo is a promise. It does not need to show every crumb exactly as it will arrive, but it should not show a different portion, garnish, vessel, or ingredient just because the image looks better.
Before approving a photo, compare it with the current dish:
- Is the dish name the same as the name on the menu?
- Are the main ingredients and preparation represented honestly?
- Does the portion look like what the guest will receive?
- Are the included sides, sauce, garnish, and serving vessel still current?
- Does the photo belong to this location and service period?
For example, if a brunch plate now comes with one egg instead of two, the old photo should not stay live while the description is updated. If the kitchen changes the garnish for a seasonal supplier, either refresh the image or remove it until the picture can be reviewed.
Keep a simple owner and review date for each important photo. The restaurant does not need a separate photography department. The menu owner, chef, or shift lead can confirm whether the image still matches the plate during a regular menu review. How to Keep Your Restaurant Menu Accurate Across Every Channel shows how to connect that check to the wider source-of-truth workflow.
3. Use one visual system instead of one-off images
Guests notice inconsistency quickly. One dish may fill the whole card, another may be a dark close-up, and a third may include a hand, a plate, and a large prop that hides the food. The menu feels harder to scan even when every photo is technically clear.
Choose a small visual rule before adding more images:
- use the same aspect ratio for most dish photos;
- keep the dish in a similar position within the frame;
- use a background and lighting style the kitchen can repeat;
- leave enough room for the image to crop on a narrow screen; and
- keep text, prices, and dietary information outside the photo.
Consistency does not mean every image must look staged. A cafe may use simple overhead photos, while a fine-dining restaurant may use a quieter side angle. The useful test is whether a guest can compare two items without learning a new visual language for each card.
Do not place essential menu text inside an image. Text in an image is harder to search, resize, translate, and use with assistive technology. Keep the dish name, price, ingredients, and dietary details as real menu text beside the photo.
4. Resize photos before they reach the menu
Phone cameras produce files that are much larger than the space a menu card usually needs. Uploading the original can make guests download unnecessary data, especially when they open the menu on a phone with a weak signal.
The web.dev guide to responsive images explains that serving desktop-sized images to mobile devices can use two to four times more data than needed. It recommends resizing images and serving different versions for different display sizes. If the menu platform creates responsive variants for you, confirm that the feature is active. If it does not, prepare a display-sized copy instead of uploading the camera original.
For each photo:
- Keep the original in the restaurant's private photo archive.
- Crop the display copy to the menu's chosen aspect ratio.
- Resize it to a sensible maximum for the space where it appears.
- Export a web-ready JPEG or WebP with visible quality still intact.
- Check the file size and the image at the actual menu width.
- Remove the old display copy when the new one is approved.
The right size depends on the layout. A photo shown as a small card does not need the same dimensions as a full-width hero image. The goal is not the smallest possible file; it is a sharp image that does not delay the menu or compete with the dish details.
Google's image SEO guidance also recommends high-quality images, responsive techniques, relevant page context, descriptive filenames, and useful alt text. Those recommendations work together: a fast image is not useful if it is blurry, and a sharp image is not useful if it describes the wrong dish.
5. Pick the format for the content
For photographs, JPEG or WebP is usually the practical starting point. PNG can make sense for an image that needs transparency or very crisp graphic detail, but it can be unnecessarily heavy for an ordinary food photograph. Compare the rendered result and file size instead of choosing a format by habit.
The web.dev guide to choosing an image format explains the tradeoff between raster formats, compression, detail, and file size. It also warns against putting important text inside images because that text is not selectable, searchable, zoomable, or accessible.
Do not treat compression as permission to hide defects. After exporting, look for:
- crushed shadows that hide the food;
- halos around plates or glasses;
- colour shifts that make ingredients look unnatural;
- blur on the dish edge or garnish; and
- an image that becomes too dark on a phone in a dim dining room.
If a photo only looks good when it is large, it may not be the right photo for a mobile menu. A simpler, well-lit image is often more useful than a dramatic one that collapses after compression.
6. Write alt text that describes the image's job
Alt text is not a hidden caption stuffed with search terms. It should help someone understand the meaningful content of the image when they cannot see it.
The W3C alt decision tree recommends a brief description for an informative photograph and an empty alternative for a purely decorative image. For a restaurant menu, ask what the photo contributes to the decision.
Useful examples:
Grilled salmon with asparagus and lemon on a white plateChocolate cake slice with berry sauce and whipped creamHouse cocktail with an orange garnish in a coupe glass
Avoid descriptions such as restaurant food photo when the dish can be identified. Avoid claiming ingredients that are not visible or verified. If the image is decorative and the adjacent text already provides the same information, an empty alt value may be appropriate; follow the implementation conventions of the menu system.
Keep the photo and the text honest in every language. Translating the alt text does not make an image current if the dish, ingredient, or portion has changed. Digital menus and accessibility: making ordering easier for everyone has a wider checklist for readable, usable menu content.
7. Keep photos aligned with menu changes
The photo review belongs in the same workflow as prices, descriptions, availability, and dietary details. A beautiful image can still be wrong after a supplier change or a new service period.
When a dish changes, check the photo alongside:
- the item name and category;
- the current price and portion;
- the ingredients and preparation description;
- allergen and dietary information;
- the location and service period;
- the translated menu versions; and
- the website, Google profile, social, QR, and ordering paths that carry separate content.
If the kitchen runs out of an item, remove it from a featured photo section as well as changing its availability status. If the dish returns with a new preparation, do not quietly reuse an image that no longer represents it. How to Handle Sold-Out Items on a Restaurant Menu covers the live availability handoff.
For a larger menu change, use Restaurant Menu Audit: A Practical Checklist Before Service to give the photo check an owner instead of leaving it as a final visual detail that nobody verifies.
8. Test the photo on the guest path
A file can look correct in the editor and still fail where the guest sees it. Test the public menu, not only the dashboard preview.
Use this sequence after adding or replacing a photo:
- Open the menu from the actual QR code or public link.
- Test on mobile data or a guest network.
- Find the item without using the editor's search or a private shortcut.
- Confirm that the image loads without pushing the item name and price out of view.
- Check the dish description, portion, availability, and dietary information beside it.
- Rotate the phone and increase text size if those are supported guest paths.
- Switch to each published language and location.
- Ask someone who did not choose the photo whether it matches the item.
Check the menu in bright light and in the restaurant's usual evening lighting. A dark photo may be attractive on a calibrated monitor and unreadable on a phone beside a candle. If the photo delays the category or makes the layout jump while loading, resize it again or remove it. The mobile-friendly restaurant menu guide covers the rest of the phone journey.
A small restaurant menu photo review template
Use one short record for each photo that matters to the menu:
Menu item:
Photo file or URL:
Dish version or service period:
Location:
What the photo should show:
Name, price, portion, and description checked:
Allergen and dietary details checked:
Languages and channels checked:
Photo owner:
Review date:
Public phone test completed:
Decision: keep / replace / remove:
The template is not a substitute for recipe, allergen, or supplier records. It is a small handoff that makes it clear who confirms whether a guest-facing photo is still accurate.
A practical checklist before publishing a menu photo
Before making the image public, confirm that:
- the photo helps with a real guest decision;
- the dish shown is the dish the kitchen currently serves;
- the portion, garnish, sides, and serving vessel are not misleading;
- the image follows the menu's crop and visual rules;
- the display copy is resized and compressed for the space it occupies;
- the photo uses a suitable raster format and still looks sharp after export;
- the file loads without delaying the menu on a phone;
- the alt text explains the image's meaningful content without keyword stuffing;
- the name, price, description, allergens, availability, and translation agree; and
- someone outside the editing process checked the public guest path.
Use photos to remove uncertainty, not to decorate every card
Restaurant menu photos are most valuable when they answer a specific question: What does this dish look like? Is it a shareable platter? Is the cocktail worth choosing? Does the photo reflect the portion I will receive?
Choose those moments first. Keep the text useful, resize the images before uploading them, use meaningful alt text, and give each important photo an owner and review date. A smaller set of current images will serve guests better than a gallery that slows the menu and goes stale.
Menuit helps restaurants keep photos, descriptions, prices, translations, and availability together in a live mobile-friendly menu. Pair that flexibility with a simple photo review so the menu remains quick to open and honest about what reaches the table.