
Make the first service a controlled test
The lunch menu goes live at 11:30. One table scans the new QR code and sees the right special; another opens an old link, and the printed menu at the counter still has yesterday's price. The software may be working. The launch plan is not.
A digital menu rollout is an operations change: someone approves the offer, someone publishes it, and the team needs one current version to show guests. Start with a small area or service period, test the whole guest path, and expand once the handoffs work. If you are still comparing tools, see How to Choose Digital Menu Software for Your Restaurant. For the wider case for a live menu, start with Digital Menu for Restaurants: How It Works, Benefits, and Why to Adopt It.
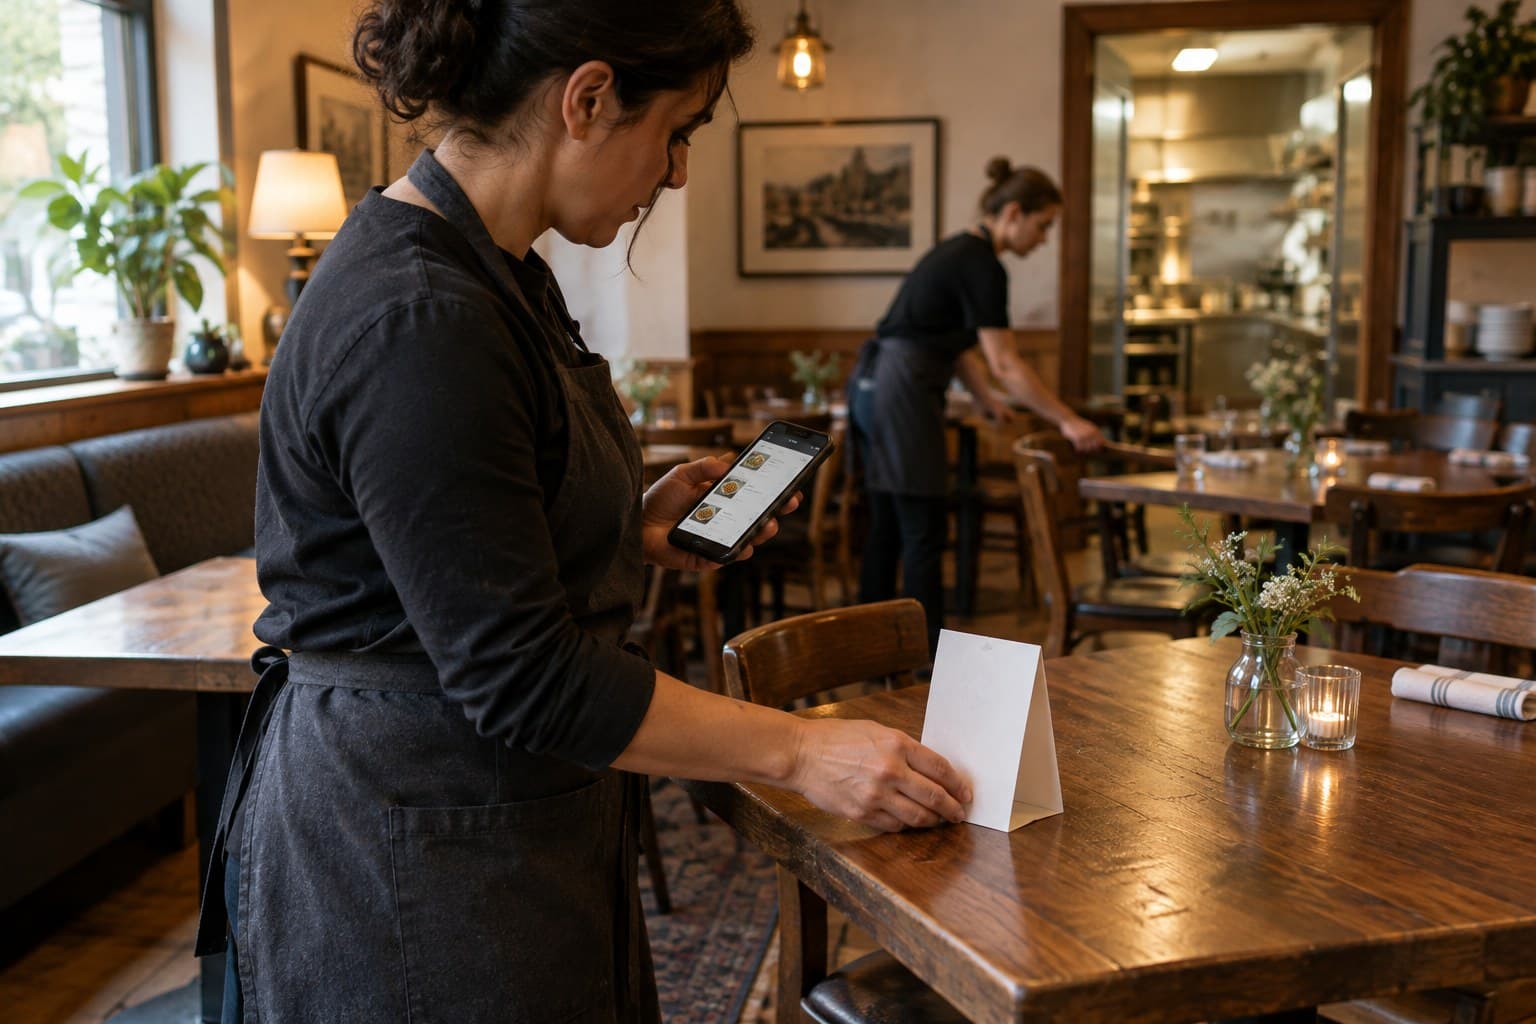
1. Pick the first area and name an owner
Choose one manageable starting point: a counter, a patio, or the lunch service. Avoid changing every table, location, and service period at once. A smaller first run makes it easier to spot a wrong price or a confusing category before it affects the whole dining room.
Write down what a good first service looks like. For example: the public page opens from the table, lunch items appear only during lunch, the price matches the approved list, and the shift lead knows how to report a problem. Name one person to publish updates and a backup for days off. Ask the kitchen or bar to confirm item details and the manager to approve prices before anything goes live.
2. Approve one menu source before building the page
Start with the version the team has agreed to serve—not the oldest PDF in a shared folder. Confirm item names, prices, portion choices, descriptions, service hours, and availability against the current kitchen or bar offer. If the restaurant serves different versions for lunch, dinner, delivery, or separate locations, label those differences clearly before importing or copying content.
Allergen and dietary details need the same careful review as the recipe. Have the person responsible for that information confirm it against current ingredients and preparation, and make sure staff know when to check with the kitchen rather than guess. A polished page cannot make unverified information reliable.
Set an effective time for each change and keep the approved list where the person publishing the menu can find it. This avoids a familiar handoff problem: the chef changes an ingredient, the manager updates the price, and the public menu still reflects last week's version.
3. Prepare the menu for a phone, not just for a screen
An existing print file can save typing, but it is a source to review—not a finished mobile menu. Remove page numbers and print-only notes, group categories in the order guests look for them, and keep the price beside the item. Add a short description where it answers a real question, such as what comes with a dish or whether a side is included.
Make the active service and any limits easy to find. If a special is available only at lunch or a dish is offered while supplies last, say so near the item. Keep the wording consistent with what the team can actually serve; the menu should not promise an option the kitchen cannot provide.
4. Test the real QR and guest journey before printing more
Do not stop at the preview inside the editing tool. Put the QR code where a guest will use it and scan it with a phone. Test on mobile data as well as the restaurant's Wi-Fi, then follow the journey: does the link open the right location and service, can a guest find a category, and are the current price and availability visible without zooming?
Check the menu with more than one phone size and verify language switching, readable text, contrast, headings, and touch controls. The W3C's Web Content Accessibility Guidelines (WCAG) 2.2 apply to web content on mobile devices as well as computers. Use them as a reference when reviewing the page, and check the accessibility requirements that apply to your business separately.
Test the printed QR from its final position, not from a copy on the manager's laptop. A code that works at the office may be hard to scan under a table lamp, behind a counter reflection, or from a guest's seat. Keep the URL somewhere the team can open directly if a printed code is damaged.
5. Brief the team and keep a non-phone option
Before the first service, give staff a short briefing with three points: what changed, where the menu link or QR code is, and who can correct an error. Review the items that prompt questions—today's special, a sold-out dish, a substitution, or an allergen question—and agree on who confirms the answer.
Keep a current paper copy or another staff-assisted way to view the menu for guests who cannot or do not want to use a phone. The fallback should match the live offer, not become a second version that drifts out of date. For a fuller briefing routine, see How to Train Restaurant Staff on a New Menu.
6. Run one service, fix the snags, then expand
Use the first area for a real service, not just a quiet walkthrough. Ask the shift lead to note questions and errors as they happen: a QR code aimed at the wrong page, a category guests cannot find, or an item the kitchen cannot serve. Fix the source and retest the public page before adding more tables.
When the pilot is clean, update the remaining QR materials and linked menu locations in a planned order. Check each one after the change. If the menu has several service periods or locations, repeat the test for each version rather than assuming the first one covers them all.
After the first few services, review the notes with the kitchen and floor team. Choose one or two corrections, assign an owner, and set the next review time. The goal is not a flawless launch day; it is a menu that stays aligned with the offer as the restaurant works.
Digital menu launch checklist
Keep this short record with the menu handoff:
- First area or service period:
- Approved menu version and approver:
- Publisher and backup:
- Prices, availability, and service hours checked:
- QR code and public URL tested on a phone:
- Languages and accessibility reviewed:
- Staff briefing and non-phone option ready:
- First-service review owner and time:
Menuit helps restaurants turn an existing menu into a live page that can be reviewed, translated, and updated behind a QR code. Start with one real section, confirm it against the kitchen's current offer, and add the rest when the team can keep the same information current across service.